Moblie: 8613816755915

How do I install a flat-packed container house
But while the concept of flat-packed container houses is becoming increasingly popular, many people don’t know how to go about installing one. In this article, we’ll explain the process of installing a flat-packed container house, from preparing the site to putting the finishing touches on the interior.
Step 1: Prepare the Site
Before you can begin to install a flat-packed container house, you need to ensure that the area is suitable. You’ll want to make sure the area you choose is free from major infrastructure developments such as roads or railroads, as well as any other potential hazards. You should also consider the climate and whether or not the area is prone to flooding or other weather-related disasters.
Make sure the ground on the site is level and clear of obstructions, if the area is uneven you may need to dig out the area or place a foundation. Once the area is ready, you should lay down a waterproof membrane or plastic sheet to protect the container from moisture and to stop water from entering the container.
Step 2: Assemble the Container
Once the site is ready, you can begin to assemble the flat-packed container house.
Floor and Steel Column Installation
The roof and floor of Solidhome’s flat-packed container house have been installed in the factory. You only need to use a crane to place the floor in the predetermined position, which is safe and flat, and the foundation is firmly installed. Then start to install six supporting steel columns. The supporting steel columns and the floor are connected by bolts. After the workers use tools to install the steel columns and the floor, they can install the wall panels.
Wall panel installation
Solidhome’s wall panels are made in the factory according to fixed dimensions, and each wall panel is locked with concave-convex buckles. The doors and windows have been fixed in the factory according to the drawing size, and the insulation materials are also embedded in the wall panels, including the wiring. The ground beams are reflected on the wall panels at the required positions to avoid increasing the workload on site.
Roof panel installation
The roof panels are installed after the wall panels are installed, which requires the help of a crane. After the crane installs the roof panels in place, workers can fix the steel columns on the roof panels. There are corner fittings specially connected to the steel columns on the roof panels, and the corner fittings are fixed to the steel columns with bolts. In this way, a whole flat-packed container house is installed like this.
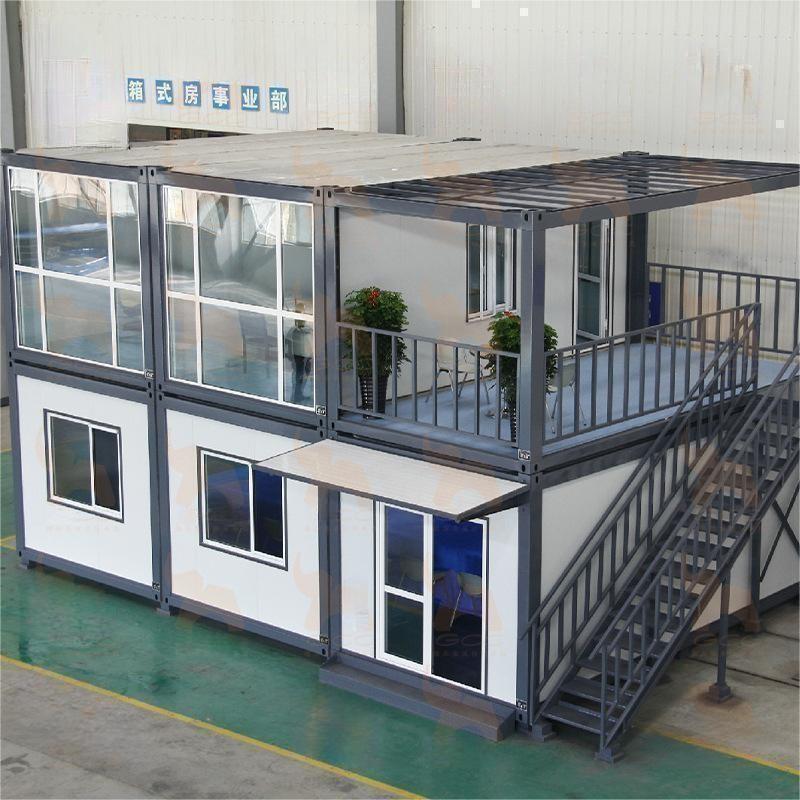
Step 3: Install other structures and finishes
When the main structure of the flat-packed container house is installed, other structures can be installed, including corridors, pitched roofs, balconies, etc. There is also the installation of exterior finishes, which may include cladding, baseboards and gutters. Some self-heavy structures still need the help of cranes, and some small components can be completed manually.
Step 4: Finish the Interior
Once the exterior of the container is complete, you can begin to finish the interior. This may include painting the walls, adding carpets or vinyl flooring, and installing light fixtures. You may also want to add furniture, such as beds, chairs, and tables.
Step 5: Connect the Services
Finally, you need to connect the services to the container. This may include electricity, water, and drainage. Make sure that all the connections are safe and up to code.
Installing a flat-packed container house is a great way to build your own unique home without the hassle of traditional construction. By following these steps, you can easily install a container house that is both strong and energy-efficient. With some patience and the right tools, you can have your own container house in no time.